The instructions provided in this section were verified against Android 4.4.2.
To set up a mail account on Android:
- Open the Gmail app. Touch the menu on the top left. Touch the down arrow to the right of your username and then touch Add account. Then follow the steps described below. To go to the next step, tap Next on the screen.
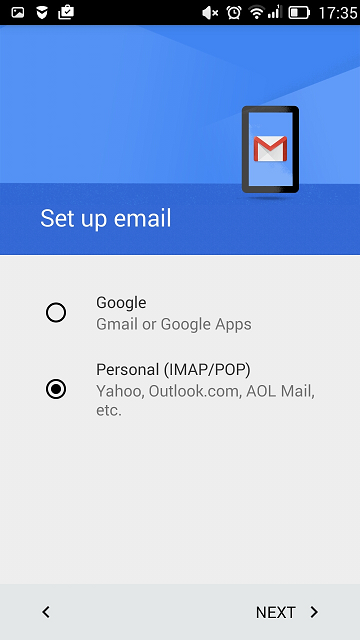
- On the Set up email screen select Personal (POP, IMAP).
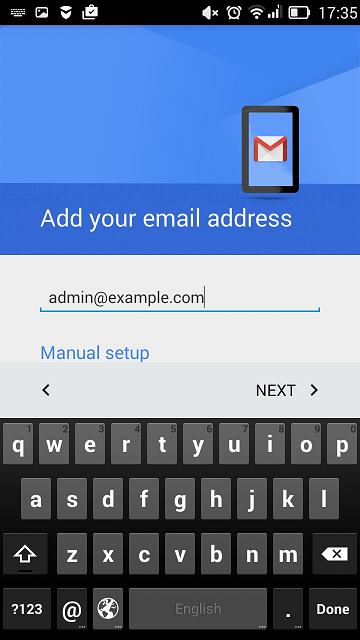
- On the next screen, specify your full email address. Example: admin@example.com.
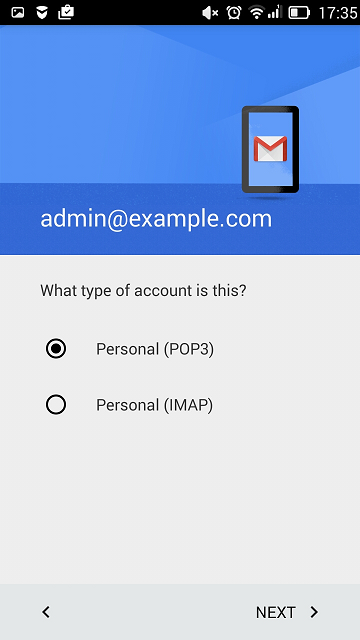
- Specify the type of account. To keep the copies of email messages on the server, select the IMAP option. If you do not want to keep them on the server, select POP3.
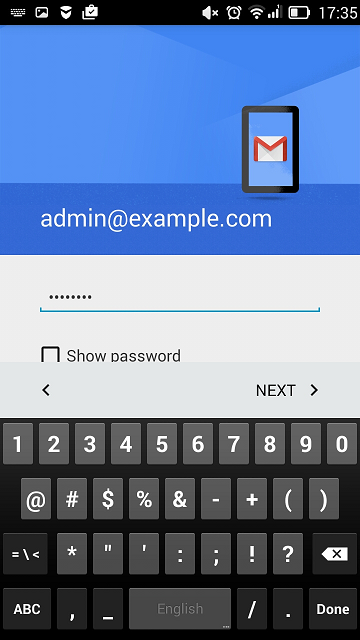
- Specify the password of your email account.
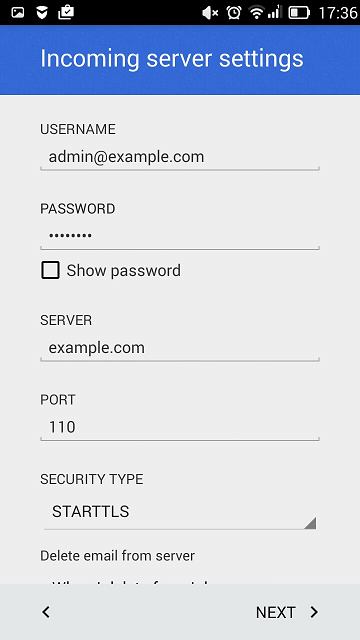
- The next screen displays the settings of an incoming server. Specify the Port number 110 for POP3 or 143 for IMAP.
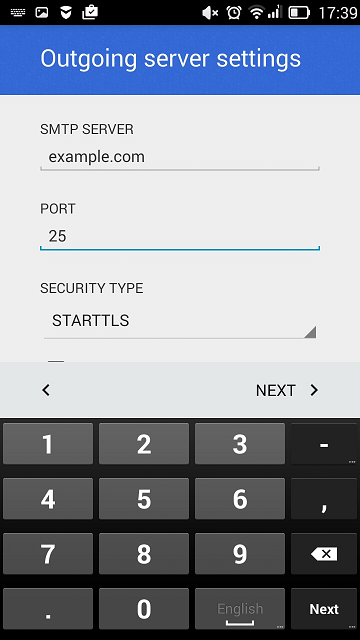
- The next screen displays the settings of an outgoing server. The port number should be 25.
- When all the data is specified, your Android device will check the connection to the server and create your mail account. The new account will be displayed in the list of accounts in the Gmail app.
Was this answer helpful?
Also Read
-
Access from Windows Live Mail Open or Close
The instructions provided in this section were verified against Windows Live Mail Version 2012.... Read More
-
How to Configure Mail in iPhone Open or Close
The instructions provided in this section were verified against iPhone 5s. To set up a mail... Read More
-
Email Sending through Code in Asp.net Open or Close
Included Namespace.using System.Net; using System.Net.Mail; After adding Namespace use below... Read More
-
Create Mail Account in Plesk Open or Close
In order to create an email account in Plesk, follow the steps given below: 1. Login to Plesk.... Read More
-
Access from Mozilla Thunderbird Open or Close
The instructions provided in this section were verified against Mozilla Thunderbird 31.4.0. They... Read More